Yummy Battenberg Recipe!

Yummy Battenberg Recipe!

Hello everybody!

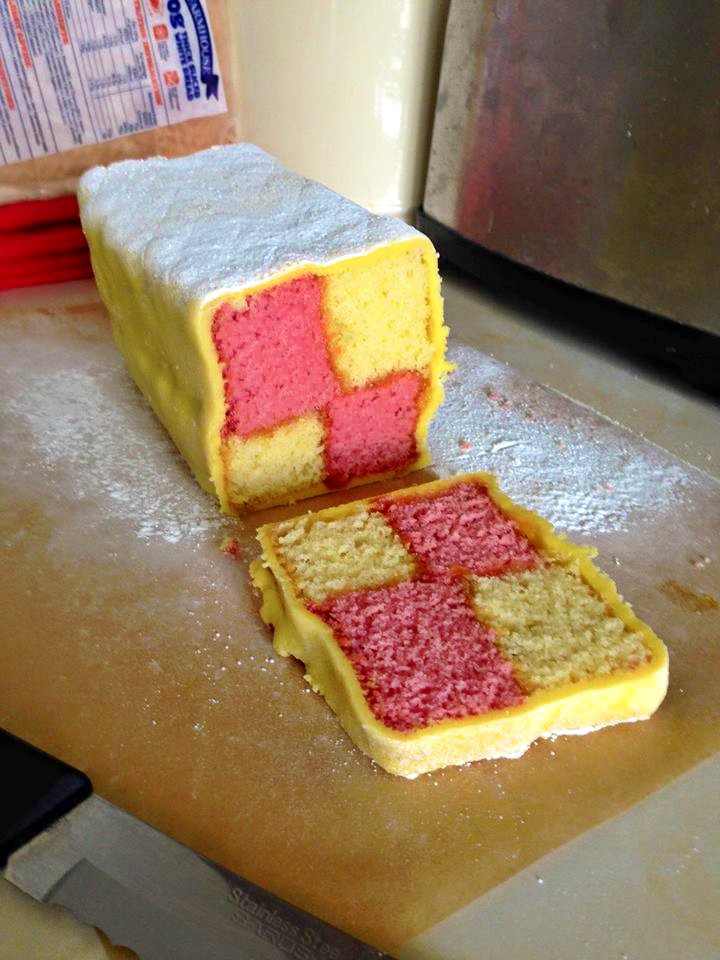
Wow I’ve had a long break from blogging… post on that very soon! But I thought I would pop on a wonderful little recipe for battenberg cake which I made today. Enjoy!
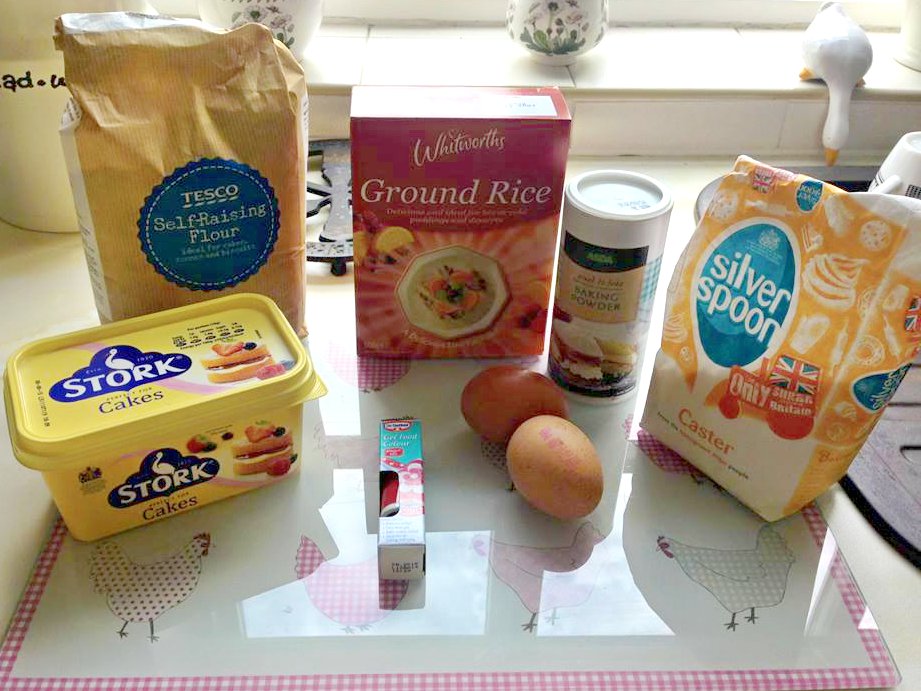
11813404_10155984976555232_9117894140634108136_n

Ingredients

4oz softened butter

4oz caster sugar

4oz self raising flour

2 large eggs

1 tsp baking powder

2oz ground rice

Red food colouring

Almond paste if desired

 11836859_10155984978970232_4849462198745708233_n

Apricot jam

Marzipan

Icing sugar

11846680_10155984977975232_2497332390430195723_n

  1. Preheat the oven to 160°c, and grease and line a square baking tin. The tin I use is an 18cm square tin, not too deep.
  2. Add the butter, sugar, flour, eggs, baking powder and ground rice into a mixing bowl and beat for about two minutes, or until it is smooth. Have a boogie to Beyoncé as you beat the mixture, it’ll go quick as a flash.
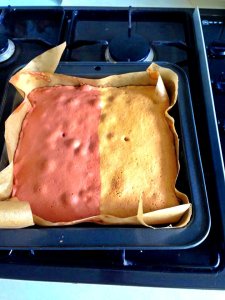
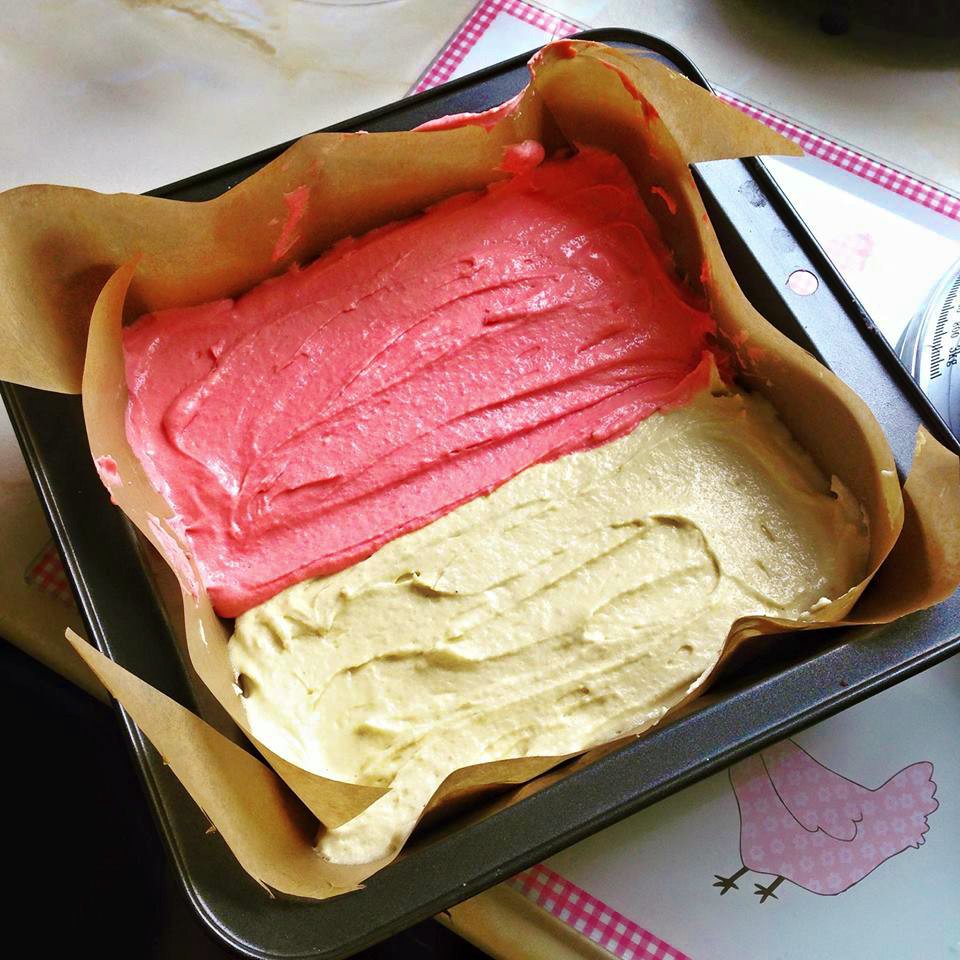
  3. Split the mixture in half. Put half of the mixture carefully onto the right side of your baking tray.
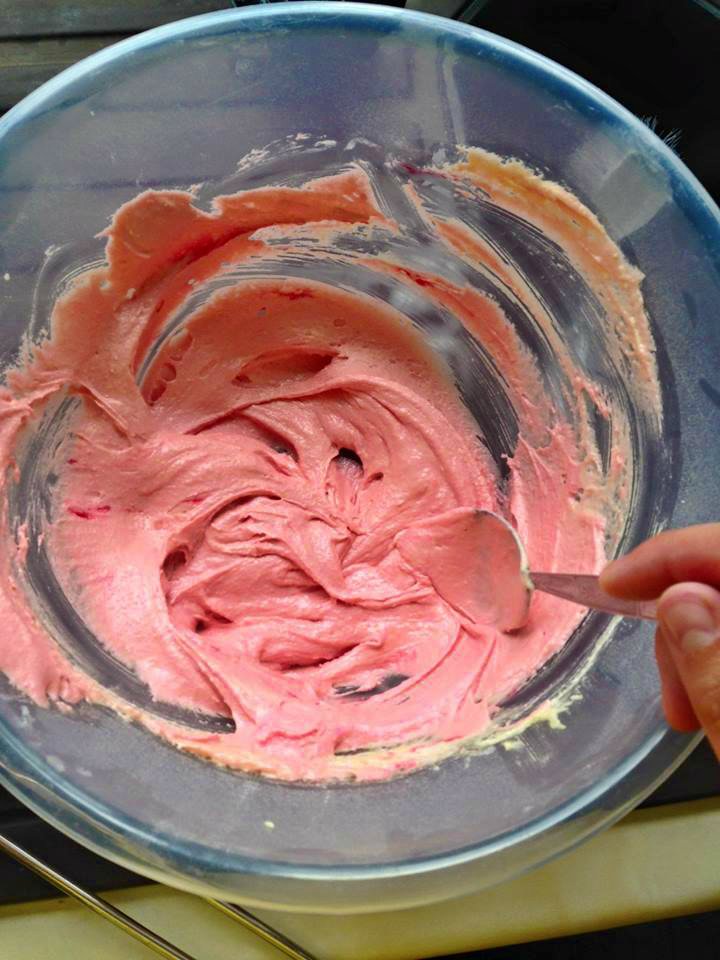
  4. Add a few drops of red food colouring into the mixture you have left in the bowl. Mix it until it is a deep pink colour. If you were really fun you could mix things up and have some different coloured sponge in your Battenberg; go wild you only live once.

    11060840_10155984978825232_7030782698005069149_n

  5. Carefully spoon this mixture onto the other side of the tin, make sure the line between the two colours is smooth, and make sure your mixture is even. Smooth over the surface.
    11836871_10155984978220232_7842948904799833699_n
  6. Pop it into the oven and bake for about 35-40mins. Once it is cooked, check it springs back when touched, and maybe try the skewer test like I did. Leave it to cool for a few minutes in the tin, then put it on a cooling tray to fully cool down. Remove baking paper.

    11831730_10155984978040232_3502556266851995200_n

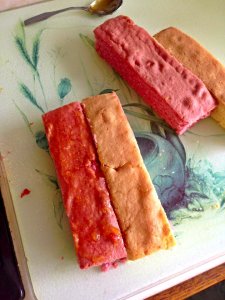
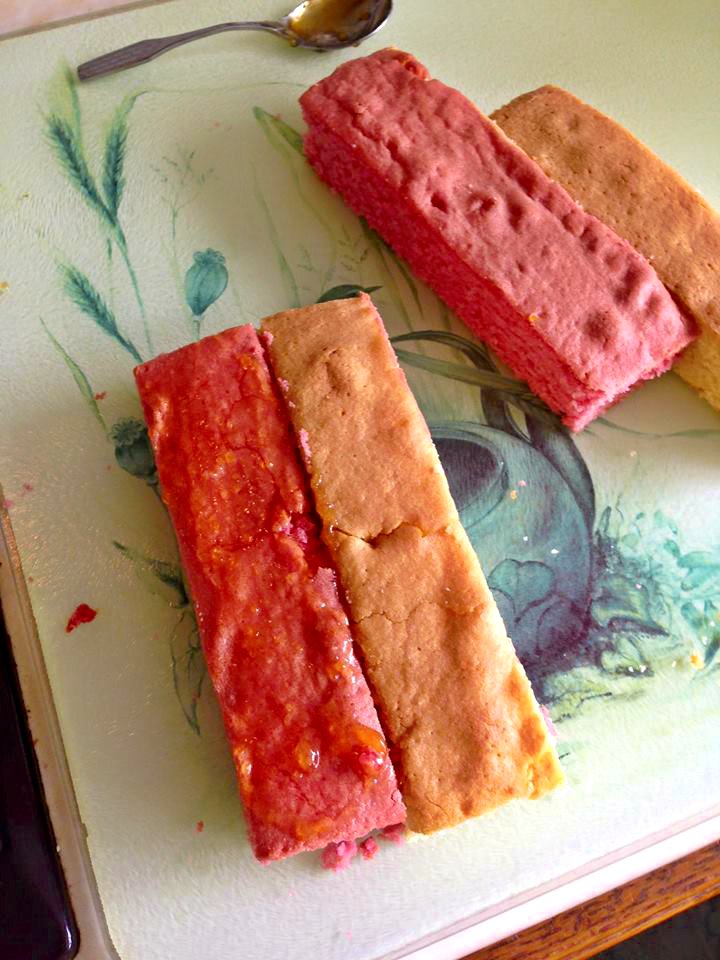
  7. Once your sponge is cool, trim the sides and cut it down the middle so you have two sponges each a different colour. Then cut the sponges in half again, so you have four long pieces of sponge, two of each colour.
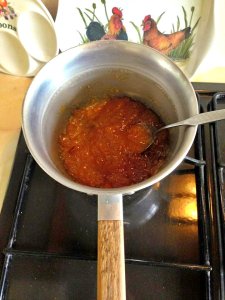
  8. Warm the jam in a pan, and use this to stick your sponges together in a checkerboard style. Pop some jam on the top of the sponge, ready for the marzipan.

    11214718_10155984977855232_4424439127241191776_n11822652_10155984977520232_9084499800895142150_n

  9. Sprinkle some icing sugar on your surface, and roll out you marzipan. This can be tricky and I had a small disaster when my marzipan decided to stick completely to the surface. After wailing for a moment I was handed a scraper to scrape it off the surface and start again. Dust your surface well.
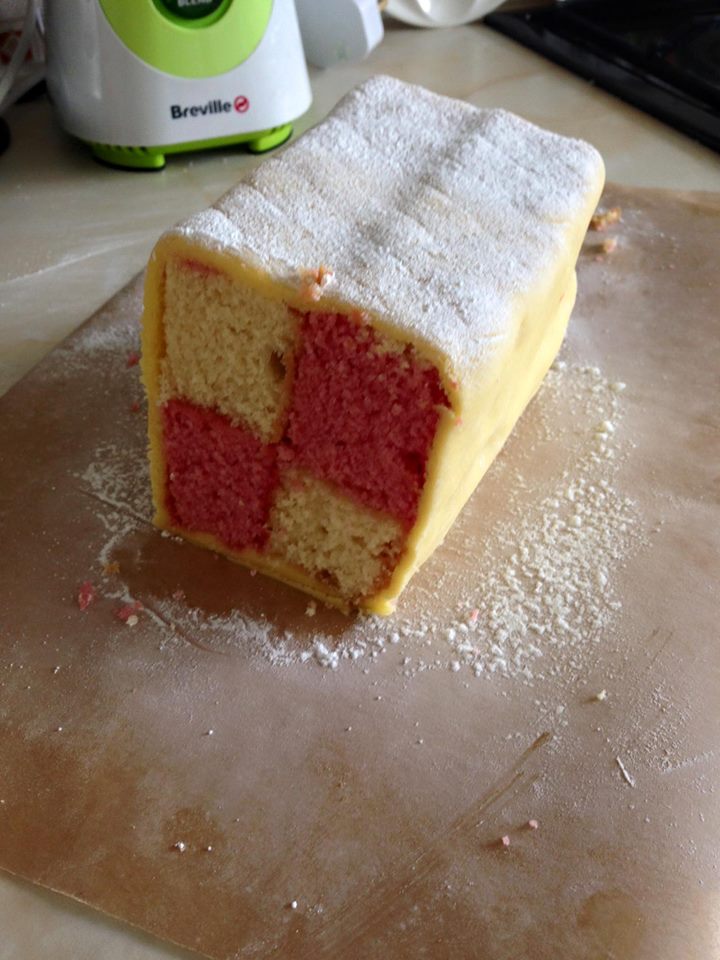
  10. Once rolled out, pop your sponge on one side of the marzipan, then wrap the marxipan round the cake. Make sure you pinch the corners and edge so it stays together.
    11825992_10155984976095232_4445247737491085930_n
  11. As a finishing touch, you could score a pattern on the top of the Battenberg, or sprinkle some icing sugar on top.
  12. Pop the kettle on, call your mates and have a gossip with a lovely cup of tea and some yummy Battenberg, and listen as your friends shower you with baking compliments. Job done.
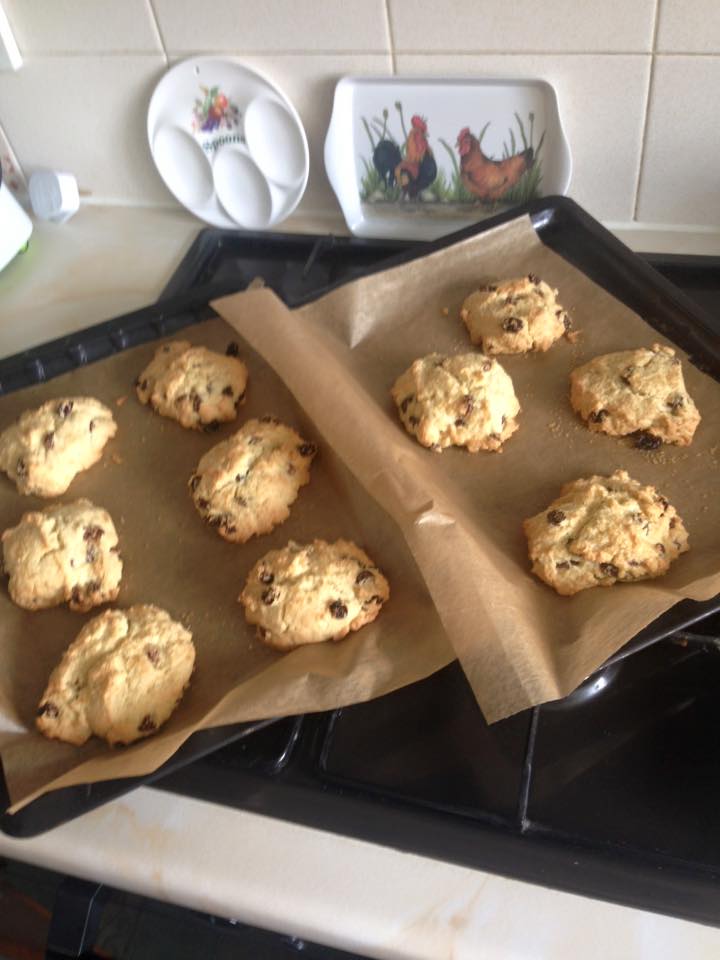
11813404_10155984976555232_9117894140634108136_n

NOMMY.

86023b97d405648c3ce8da78114ed98d

Love Sophie xx

Gran’s Rock Cakes

Gran’s Rock Cakes

Hey guys.

So on Saturday my beautiful and wonderful Gran passed away.

It’s all very raw still and it’s early days but I feel I need to keep busy and fill my time with small happy moments amongst all of the sadness.

I want to dedicate this post to one of her very favourite recipes The Rock Cake. My earliest memories are (I must have been about five years old) standing in her kitchen licking the spoon covered in rock cake mixture. I remember them being HUGE and can even imagine the smell now! She absolutely loved baking, and made the best cakes. So I feel like it is my job now to bake and preserve her memory.

11401517_10155761591065232_299952992384002540_n1493187_10155761590665232_9141955223580782105_n

Ingredients

8oz Self raising flour
pinch of salt
4oz margarine/butter
3oz raisins or dried fruit
2oz caster sugar
1 egg
A little milk to mix
Demerara sugar to sprinkle

BeFunky Collage scone

Method

  1. Heat the oven to 190°C, grease/line two baking trays.
  2. Mix the flour and salt, rub in margarine,
  3. Stir in raisins/dried fruit.
  4. Stir in sugar.
  5. Mix to a stiff dough with the egg and a little milk.
  6. Roughly place on tray and sprinkle a little demerara sugar over the top of each cake.
  7. Bake for 15-20 minutes

11535808_10155764615770232_542108056406182542_n

If you happen to make some rock cakes, I would love to see your links and photographs so feel free to paste them in the comments. Make some happy memories with your loved ones that you can always look back on.

Enjoy a cake with a lovely cup of tea, and think of all the great times you’ve had and have yet to come.

Love you Granny xx

Marvellous Marble Cake!

Marvellous Marble Cake!

So this cake came about when I was feeling a little bit sorry for myself, and needed something scrummy to have with a nice cup of tea. It’s so unbelievably easy to make, and even yummier to eat! The prep time is only about 10-15 minutes, and it takes less than an hour to cook. So you could pop it in the oven and then have a lovely bath while you wait for it to cook!

10993405_10155290546940232_2399766205921911127_n 11018737_10155290546765232_463264519461164410_n

What you will need:
Weighing scales
Mixing bowl x 2 (you will split the mixture into two halves later)
Electric whisk or metal spoon*
2 spoons
Skewer

Ingredients
8oz butter
8oz caster sugar
4 medium eggs
8oz self-raising flour
3 tbsp milk
1 tsp vanilla extract
2 tbsp cocoa powder

Method
1. Heat oven to 180C/Gas 160/gas mark 4.
Grease and line a 20cm cake tin with greaseproof paper.

2. I am a firm believer in the all in one method, so if you are similar to me, pop all the ingredients except the cocoa into a mixing bowl and combine. You can use an electric whisk if you are lazy like me, or be a badass and do it by hand.

(If you are a bit more careful and would prefer not to pop all the ingredients at once, beat the sugar and butter until light and fluffy, then add the eggs one at a time making sure they’re well mixed. Add the milk and vanilla extract, then fold in the flour.)
Whichever method you choose, make sure your mixture is smooth.

3. Divide the mixture between 2 bowls.
Stir the cocoa into one of the mixtures until nicely combined.

11006423_10155290547610232_5513866106531466589_n

4. Take 2 spoons and dollop the vanilla mixture and cocoa mixture into the cake tin alternately. When you have used up all your mixture, tap the bottom of the cake tin on your work surface. This makes sure your mixture evenly covers the bottom of the tin, as well as getting rid of any air bubbles.

5. Use a skewer and swirl it around your mixture, this will create a marbled effect.

11001926_10155290547430232_5807158132341909517_n

6. Bake your cake for 45-55 minutes. When you think it’s done, pop your skewer in the middle of the cake and if it comes out clean, it’s ready! Quick, pop it on a rack so it cools and you can eat it! Nom.

I really hope you enjoy this recipe and if you’d like me to post more please comment and I will be super happy to!!

Love Sophie xxx

Chocolate Banana Butterfly Cakes with Caramel Buttercream

Chocolate Banana Butterfly Cakes with Caramel Buttercream

Hi everyone! I made some scrummy cakes a couple of days ago so thought I would share my recipe!

Butterfly cakes are really easy and lovely to make if you have friends popping round for a brew and a catch up. I quite casually threw these ingredients together and the result was lovely fluffy cakes, the banana and chocolate really compliment each other and the caramel buttercream is mild, not overpowering! You could choose another flavour buttercream, just add a different flavouring!

This recipe makes 14 butterfly cakes.

You will need:

For the cakes:

6oz caster sugar
6oz margarine
2 eggs
6oz self raising flour
1oz cocoa powder
1 tsp baking powder
¼ tsp salt
1 large banana (mashed)
For the buttercream:
4oz sieved icing sugar
2oz margarine or butter
1 tsp caramel flavouring

  1. Preheat the oven to 180 degrees Celsius, 350 Fahrenheit, gas mark 4.
  2. Line your muffin/cake tray with cake cases as pretty as you like.
  3. Cream the sugar and margarine together in a bowl until light and fluffy.
  4. Add the eggs one at a time, mixing all the time with an electric hand whisk or by hand.
  5. In a separate bowl add the sieved flour, cocoa, baking powder and salt.
  6. Slowly fold the flour mixture into the butter mixture until fully combined.
  7. Spoon the mixture into the cake cases then bake for around 20 minutes or until firm.
  8. Once the cakes are cool, use a knife to cut a slice off the top of each cake; cut the slice in half.
  9. Make the buttercream by creaming the margarine, adding the caramel flavouring while mixing. Slowly mix in the sieved icing sugar and stir until all the buttercream is smooth.
  10. Use a teaspoon and spoon buttercream onto each cake and arrange the wings on top. Dust with icing sugar to decorate.

1625471_10154731060315232_6940481506579894022_n 10441238_10154731060555232_1577617909060627906_n

Perfect with a lovely cup of tea!

Hope you enjoy this recipe, I’m going to include lots of recipes as baking is truly a love of mine!

If you have any favourite recipes I would love to see them and give them a go!

Love,

Sophie xxx

1972316_10154731059395232_4039212522937647936_n